How to Do Your Makeup
So It Looks Incredible in Pictures
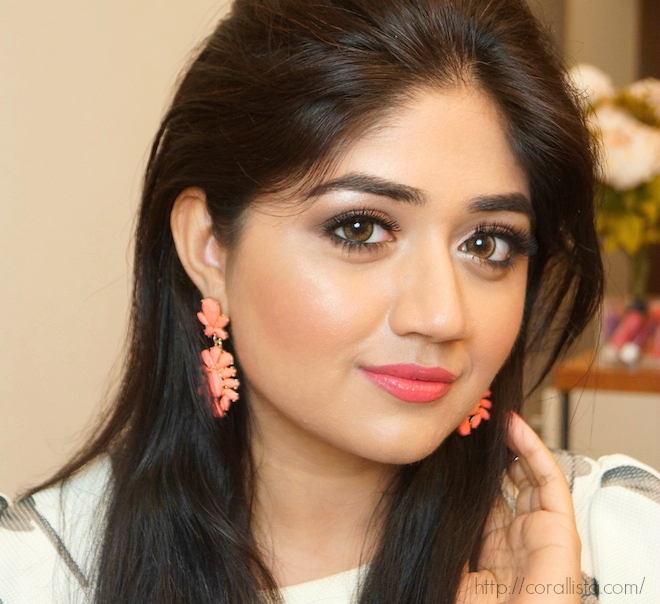

In real life, there’s nothing targeting and bouncing light
off of your face, washing out your features. Plus, the human eye sees
differently than the lens of a camera (obvs), which is why you look very
different in the mirror versus in a picture
The basic fixes will help to deal with shiny or uneven skin
tone, tired eyes, and unannounced features in general.
First
up: foundation, concealer, and translucent powder.
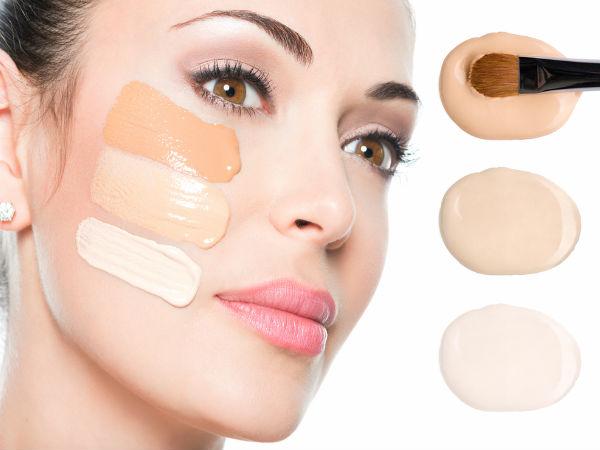

Mortifying, full-coverage
base makeup will help your skin to look smooth and even, plus it will combat
shininess. Using a makeup brush will help to blend the product into a
natural-looking finish.
Foundation: With a foundation brush, blend foundation evenly all over clean,
moisturized skin.
Concealer: “Apply your foundation first and then conceal the problem areas that
still stand out. Usually, the best areas to conceal are around your nostrils,
the shallow area underneath your eye and into any laugh lines. Use a minimal
amount of concealer and blend well.
Clear
Powder: Lightly
sweep powder over the center of the forehead, the center of the nose, and your
chin. Apply it as a final step, so you can tell where you really need it. It
will remove shine,
For the most seamless blending, use a concealer brush or a
makeup blender.
Eye brow
Colors.
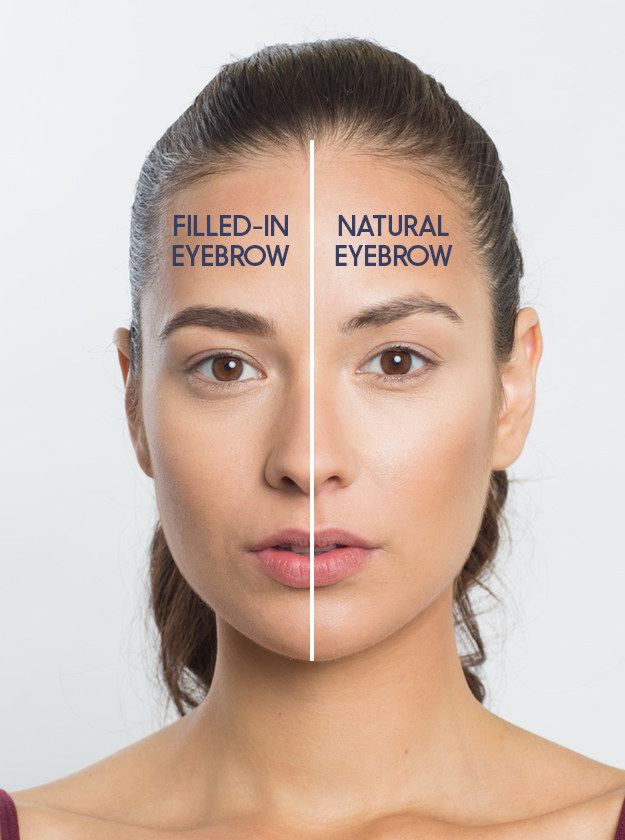

Eyebrows add structure to the eye. A fuller brow also makes your
face look younger and fresher, but be careful not to overdo it,” he says.
“Fill the brow in a natural way! The brow should have dimension
and not look too sharp or too opaque for everyday wear.
Start from the bottom of the brow and fill it upwards so
there is a gradation or ombré effect within the brow. This will look natural in
both photos and real life.
Onto
Eye shadow!
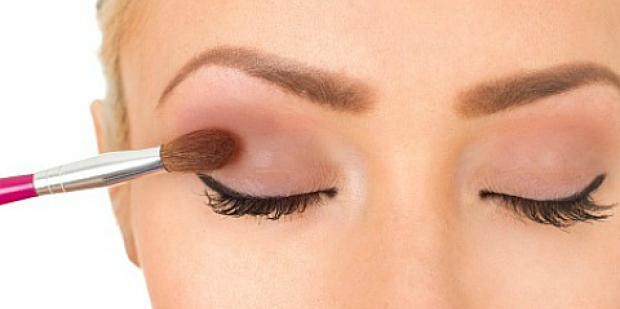

Using three colors (a neutral, a darker shade, and a
highlighter) will make your eyes appear brighter and larger in pictures.
Start with a classic defining shape. Neutral shadow over the lid
will even things out, darker shadow in the crease will make your eyes pop, and
highlighter at the inner corner and on the brow bone will brighten up the
darker areas of the eye.
If your eyelid is smoother without a strong crease, blend the
deeper shade on the outer corner of the eye for nice dimension
Choose
an eye shadow color that’s close to your skin tone and apply it to your lid.
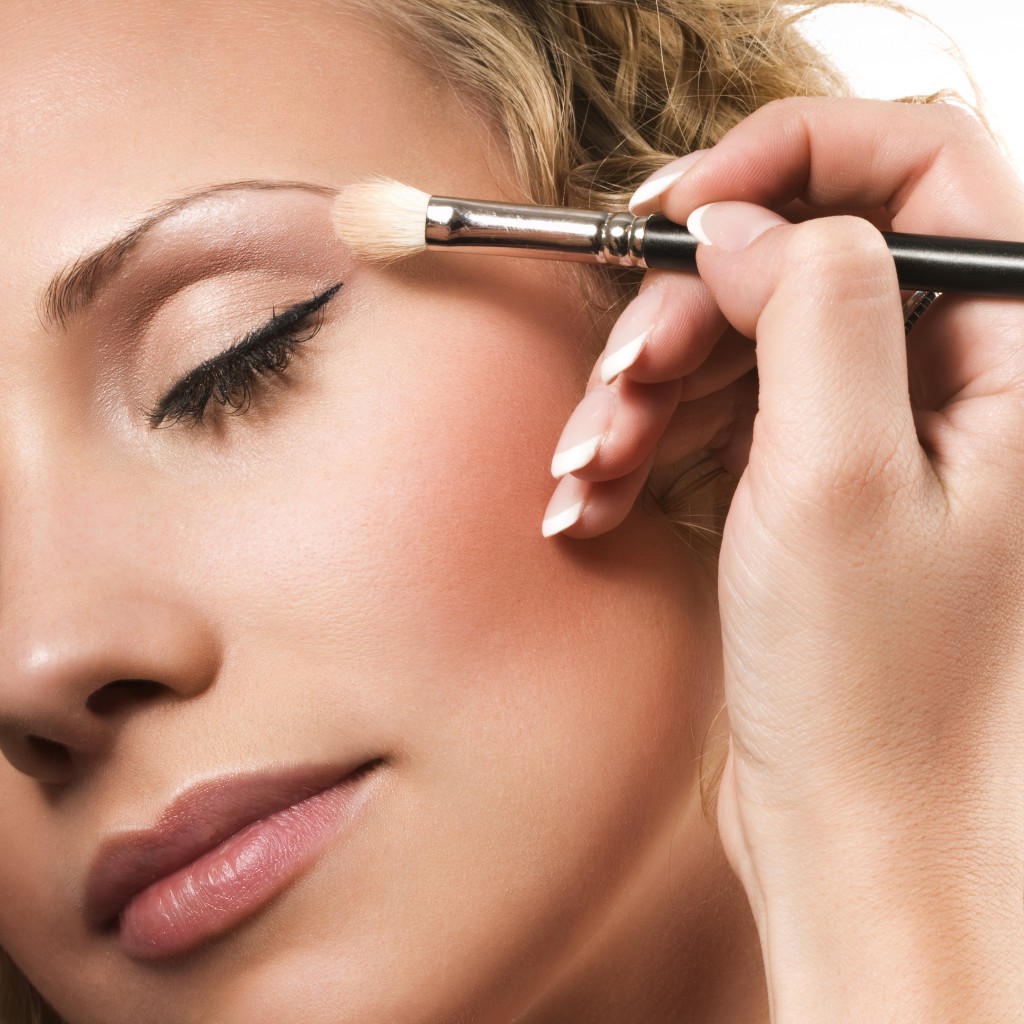

For the best application, use a fluffy eye shadow brush
Use
a color that’s a little deeper than your skin tone and blend it through your
crease for definition.
Let’s
dance, eyeliner.
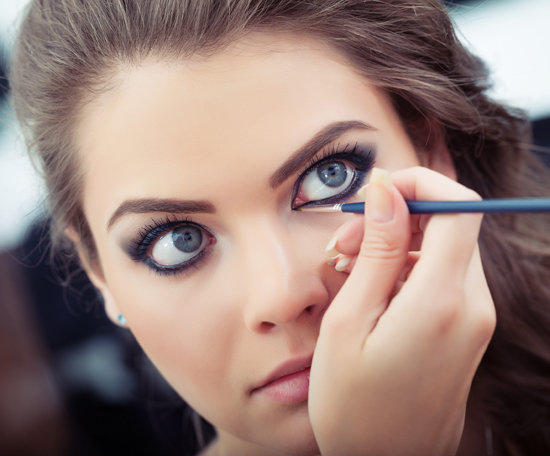

Eyeliner frames the eyes in photos (and, you know, real life).
“Use a skinny brush so you can apply a thin liner very close to
the lashes. If you have a smoother eyelid, try applying the liner while the eye
is open and sculpt your perfect shape.
The closer to the lash and tighter the line, the better! Start
with the classic shape and experiment with adding to it to incorporate a bit of
your personality.
Want to get ~fancy~? Get false eyelashes.
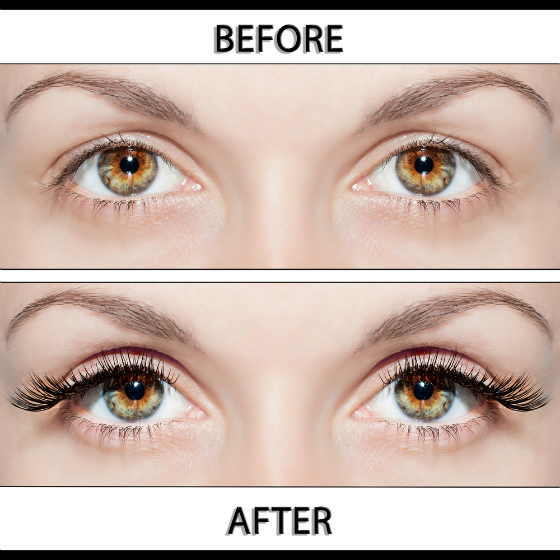

They’re meant to enhance your eyes and natural lashes, which is
why basically every celebrity ever wears them on the red carpet.
Now
it’s time for some contouring magic, y’all.
Using
a fan brush to apply bronzer and blush because it’s a gradual application
Last
but not least, lipstick!
How to Properly Apply Mascara
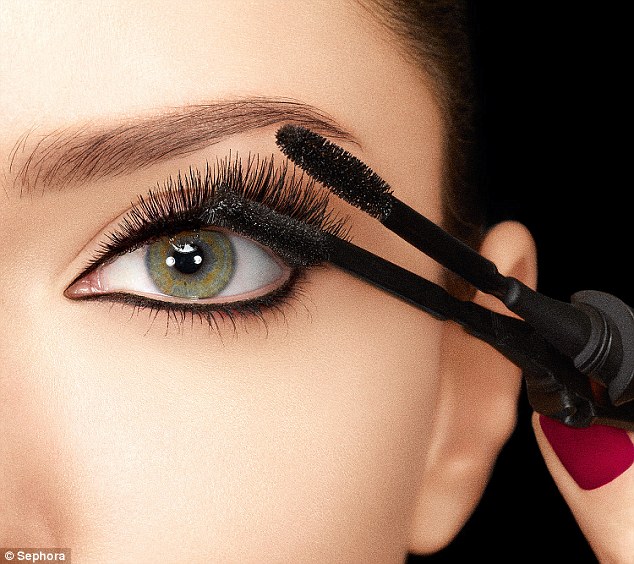
Ace your mascara
application with this 3-step process:
·
Step 1: Place the wand deep into the base of the lashes,
wiggling it in left to right. It's the mascara placed near the roots -- not the
tips -- that gives the illusion of length.
·
Step 2: Pull the wand up and through lashes, wiggling as you go.
The wiggling part is key because it separates lashes.
·
Step 3: In this final step (which I always skip), close the eye
and place the mascara wand on top of lashes at the base and pull through to
remove any clumps
Now
it’s time for some contouring magic, y’all.
Highlighter is like an IRL filter, bronzer defines bone
structure, and blush gives the cheeks dimension in pictures.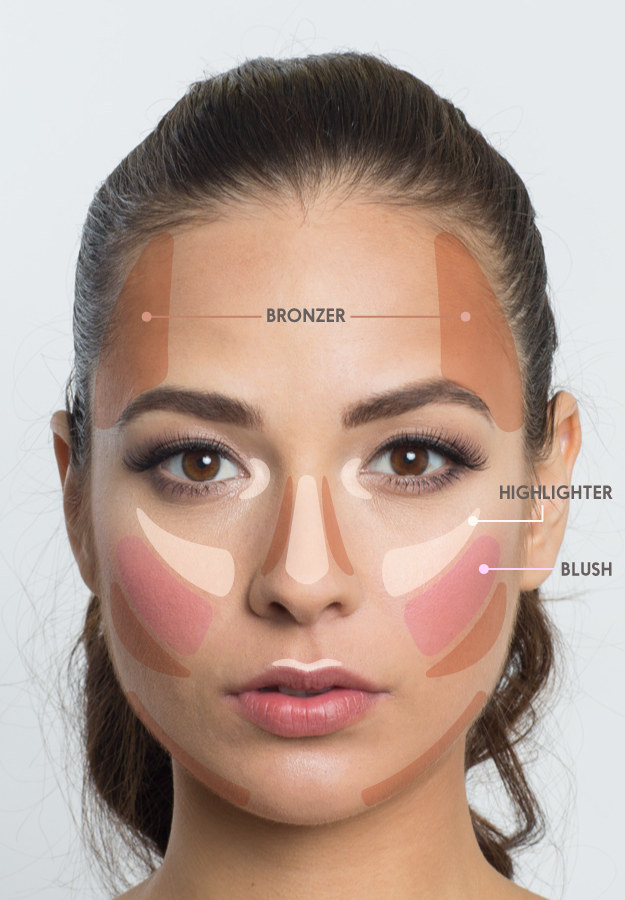

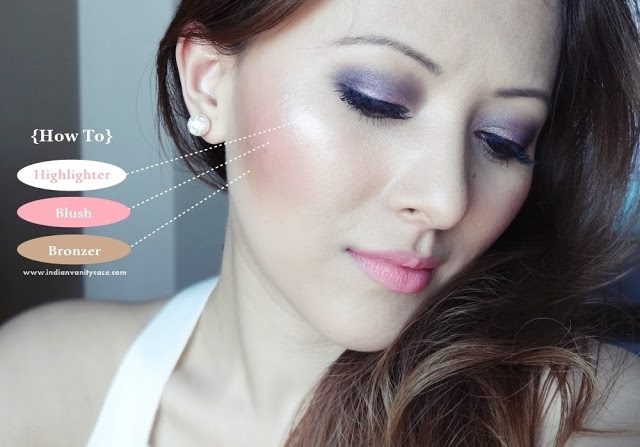
Using
a fan brush to apply bronzer and blush because it’s a gradual application
Much like with eye shadow, the most important part of using
bronzer, blush, and highlighter is to blend.

Last
but not least, lipstick!
In photos it’s important to have a well-executed lip that’s
balanced, saturated, and symmetrical
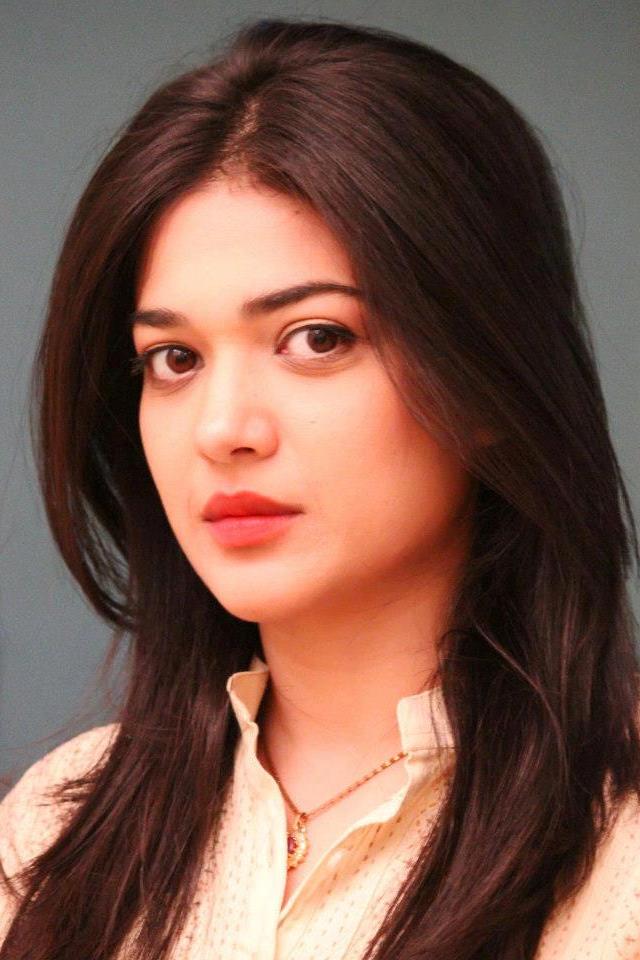
There are many different ways to apply lipstick, but a few extra steps can not only make your lipstick last longer, but also appear smoother and crisper. This article will show you how to apply lipstick properly. It will also give you a few tips on how to make your lips appear larger or smaller, as well as how to achieve certain effects such as ombre
.

EmoticonEmoticon